While striving to be original, witty and practical with our wedding, we came up with an idea for our save-the-dates that hopefully won't land them in the garbage the second they arrive at your house. We combined our love of booze, all things DIY and our narcissism all in one: Coasters of our gorgeous mugs!
It was honestly super easy, just a little time consuming. This is how we did it...
Supplies:
Coasters: Ordered mine from Letterary Press on etsy. They responded immediately to my questions, modified my order for a double amount, and shipped them off pronto tonto! Their shop offers circles and square shapes ($6.50 for 60) and tons of other really rad printed lovelies! I love my etsy! 
Archival Ink Pad, waterproof - super important ($7.50 for a giant pad)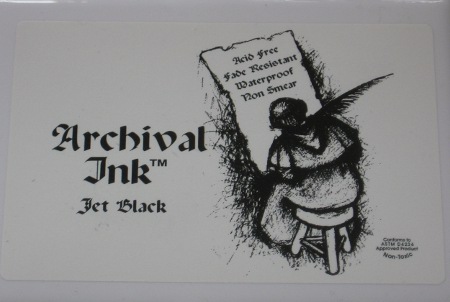
Stamps for the back (99 cents!!! Gotta love Goodwill! The letters were about $10)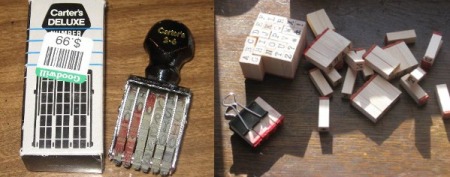
Rubber Pad, Lino block, carving block of some sort (I picked rubber since it's pretty easy to carve, $4)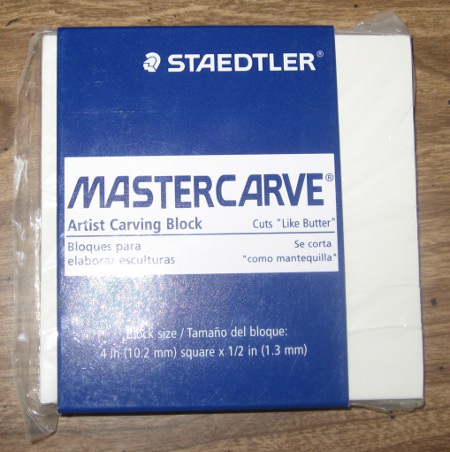
Block print supplies (I bought a Speedball kit, but since I used a different source of ink, and bought my own block, I could have saved some money by just buying the cutting tools. Hindsight is 20/20 or $23)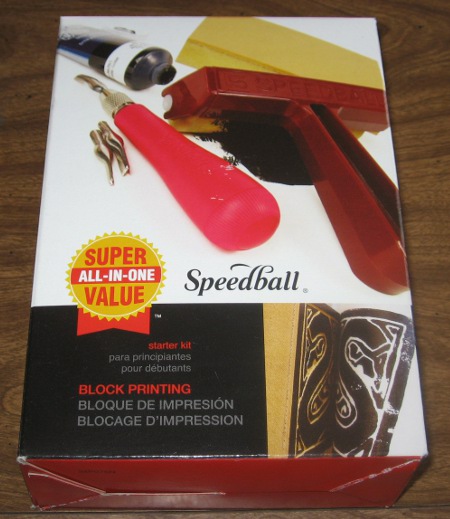
Wooden spoon (courtesy of our kitchen, free)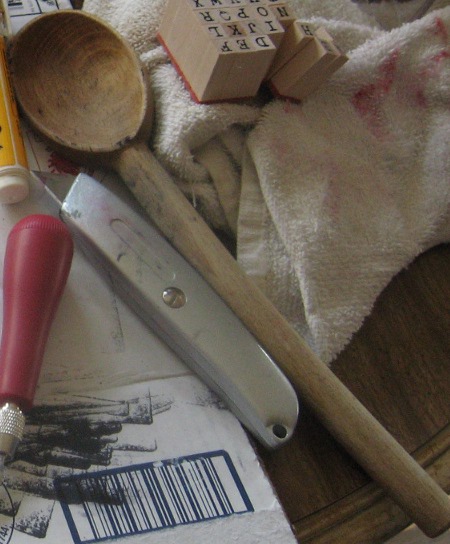
Start with any digital image: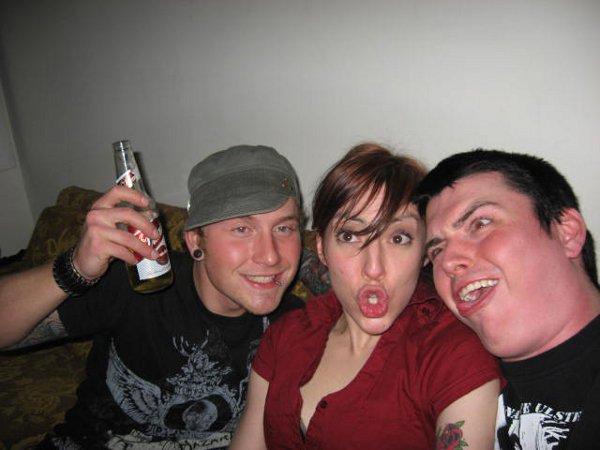
I used Gimp (editing freeware, yes, free!) to make the magic happen.
I cropped up the image, resized it, and turned it into a line drawing:
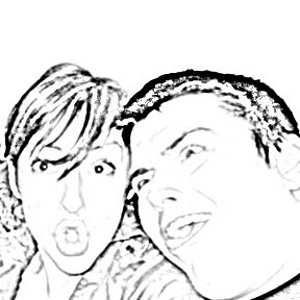
If you're not familiar with Gimp, and software like it, just search online for tutorials about how to turn photos into line drawings. I found this one to be helpful.
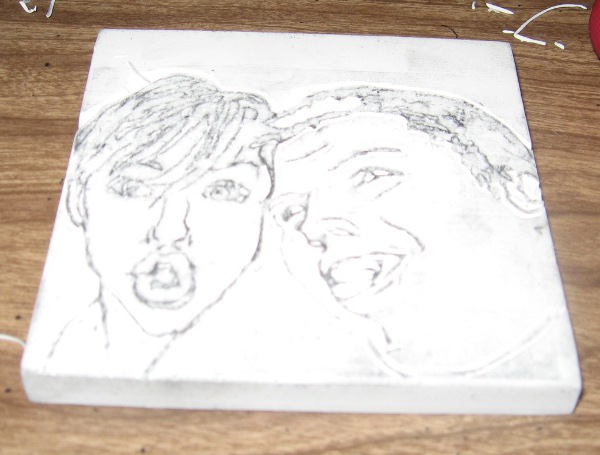
Print your image (make sure it's a similar size to your rubber pad, lino block or whatever you are carving into!) The easiest way to transfer the image is to take a pencil and cover the back of your printed image with graphite. Then carefully lay the paper (image side up, graphite side down) on top of your block. Trace the lines of the image that you want transferred with a pen and you'll end up with something like this:
Now for the nerve-wracking part! Take your cutting tools (start with the smallest one) and carefully carve on either side of the lines. You want the lines to stay raised so they'll print onto your coasters. Don't cut super deep for now because if you fuck up, you'll need to sand down the surface and start over. This was the first time I have ever done any sort of printmaking, and I didn't have to sand down! So take your time and just ease yourself into it.
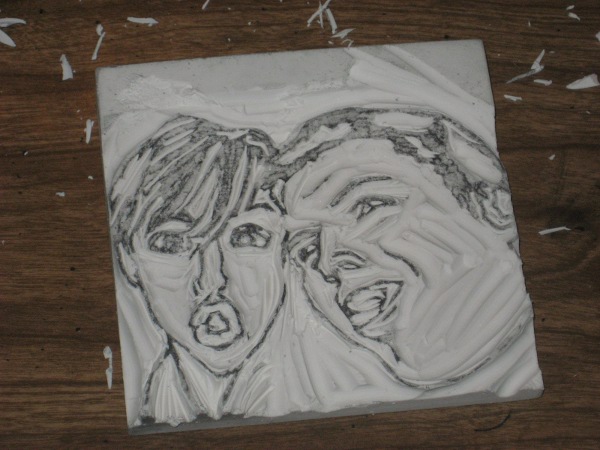
Switch over to a larger grooved cutting tool after you make your initial carvings, and whittle out the areas that you don't want picking up ink.
Do a few test runs when you think you're finished carving on scrap paper to make sure extra lines aren't picking up ink.
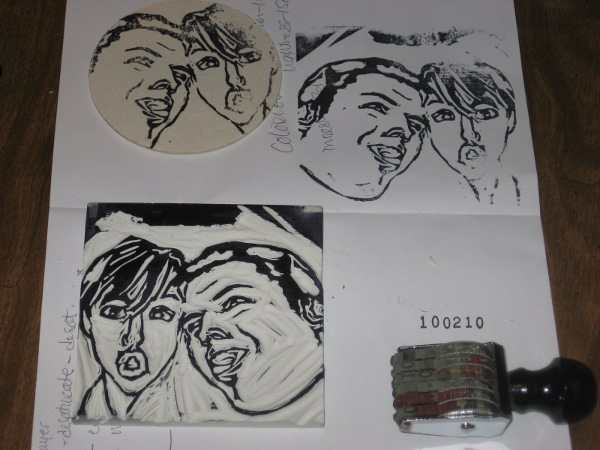
Once you're satisfied, you can begin printing!
It works best if you leave your block flat on the table through the whole process. 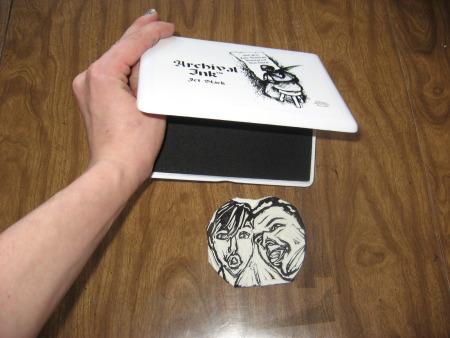
Press your ink pad, or inked up brayer, over your stamp to coat it.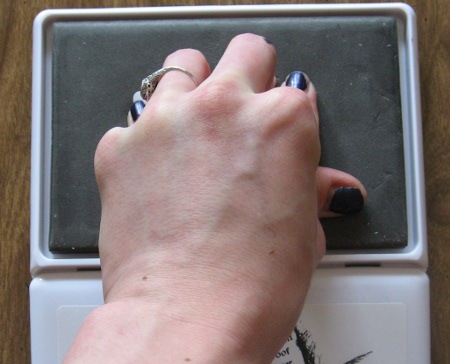
Press your coaster, or other paper product, on top of your stamp.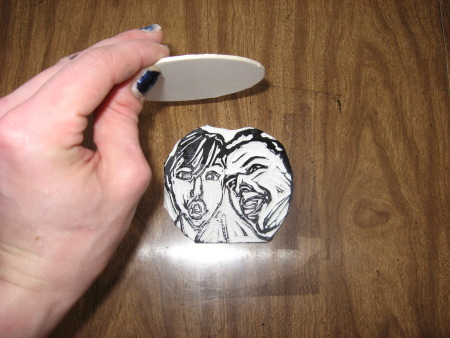
Grab your wooden spoon and rub it around the back of the coaster to make sure it's fully stamped.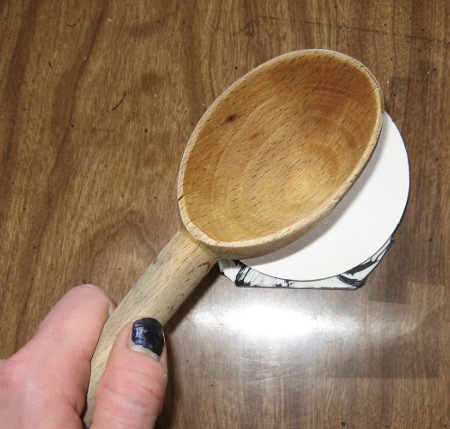
Carefully lift you coaster and one is done! 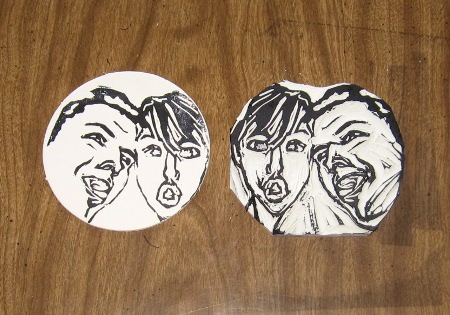
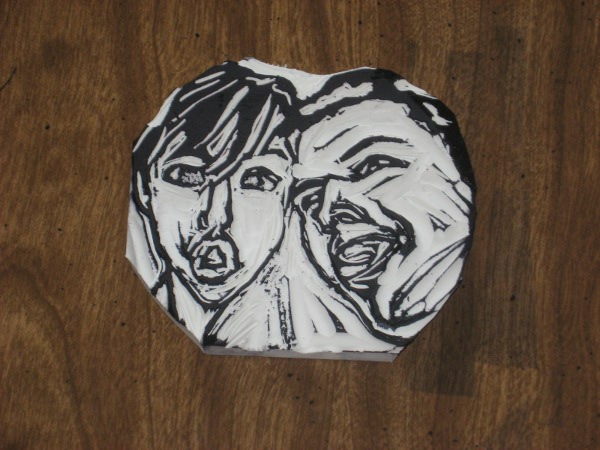
I made sure to check each coaster after I had stamped it to make sure the rubber wasn't breaking down and new lines showing up that shouldn't. After about every five coasters I had to carve off extra lines from my stamp. Not a big deal though.
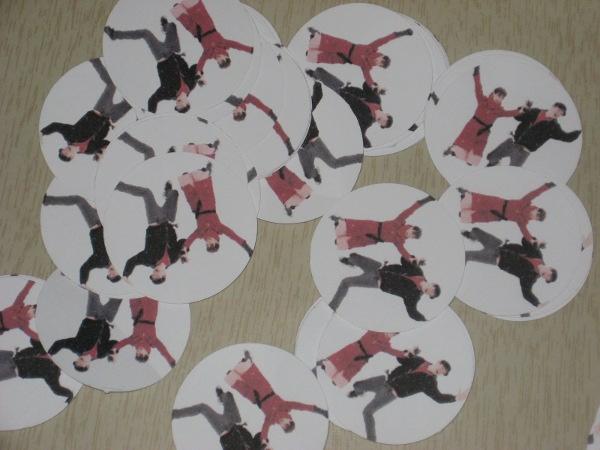
120 coasters later, I was done with the front! 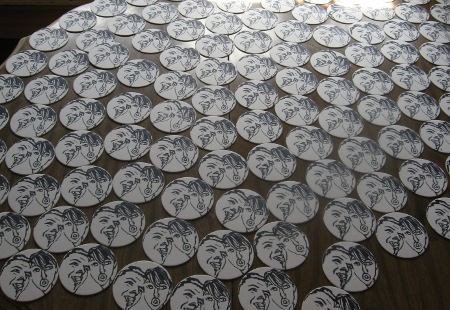
You can heat-proof the ink with a heat gun or blow dryer, but I found that the type of ink I used dried overnight. Check for smudges before packing these bad boys up!
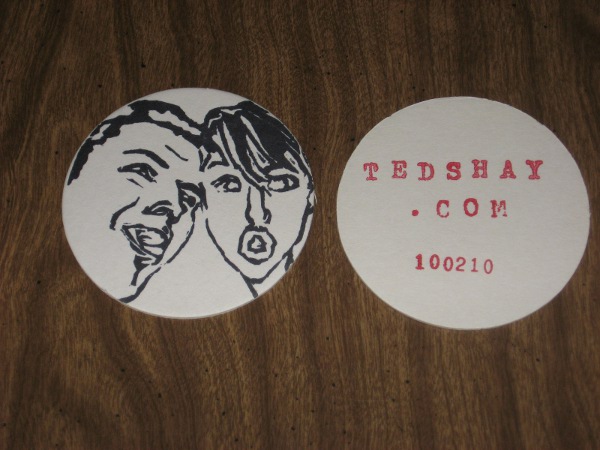
I did the back of the coasters with letter stamps and a date stamp. Instead of stamping each letter, one at a time, I used a small clamp to hook them together. Streamline!
I used a different kind of ink for the back: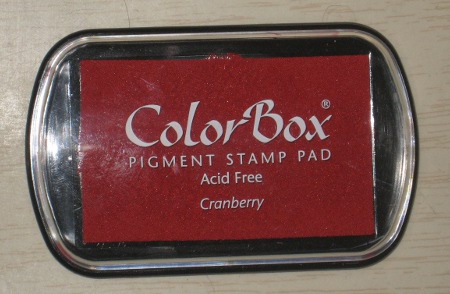
This kind took soooo much longer to dry! Kind of smudged up a bit after 2 days of drying...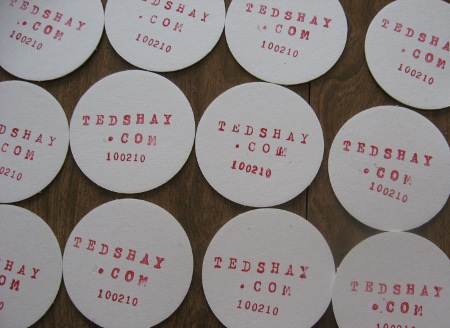
But I did it in a weekend and it cost me less than $75 for 120 hand-made, customized, save the dates!
Next I'll go over how I printed our A2 envelopes, front and back, (most printers don't have an option for these little guys), and how I made customized envelope seals so we won't get glue poisoning from licking all those envelopes!
xoshayox